In our last post about Root canal treatment, I used the term access cavity preparation. Most of the people who are reading this article won’t know about the term access cavity preparation. This article gives you a brief idea about access cavity preparation.
Welcome to one of the best dental blogs – DentalFry – and I am Dr.Anooja, a post graduate in Conservative Dentistry & Endodontics.
I share a lot of articles or notes for dental students, which will help them in learning dentistry easier.
As I discussed earlier root canal treatment means we are completely cleaning the root canals of the tooth. So to clean the root canals first we need an entrance or an opening to be made to get into the canal. This opening made in the tooth is called an Access Opening. Now you will be thinking about how an access opening can be made. Is there any specific shape for that? or can we make the entrance to the tooth in any form, etc.?
Contents
Objectives of Endodontic Access Cavity Preparation
From the term itself, it’s clear that we have to create access to the complex root canal system.
- First, we have to remove all the caries
- Preparation of the access cavity should be in a minimal or conservative way. Removal of caries doesn’t mean we can cut many tooth structures.
- We need to remove the roof of the pulp chamber otherwise called Unroof the pulp chamber completely so that we can locate all the canal orifices.
- Removal of all the Coronal pulp tissue.
- I am locating the Canal orifices.
- Achieving straight-line access to the apical foramen.
If the cavity is properly prepared then it will create straight-line access to the apical foramen which reduces the instrument breakage, and best removal of debridement.
Key Steps For Access Cavity Preparation
The key steps to be considered in access cavity preparation include:
- Visualization of the Internal Anatomy.
- Evaluation of the Cemento Enamel Junction and tooth anatomy.
- Preparation of the access cavity through the occlusal and lingual surface.
- Removal of all defective caries and caries before entry into the canal.
- Removal of the unsupported tooth structure.
- Preparation of the Access cavity wall that does not restrict straight or direct line passage of instruments to the apical foramen or initial canal.
- Inspection of Pulp Chamber Walls and floor.
- Tapering of the cavity walls and Evaluation of Space Adequacy for coronal seal.
- Visualization of Internal Anatomy:
Visualization of Internal Anatomy means identifying the access shape. So first we have to identify the pulp space in the tooth.
Now you will be thinking about how will you visualize, it can be done by taking different radiographs in different angulations. After taking the radiograph you have to examine the tooth in the coronal, cervical, and root apex. Also, your eyes should go through the calcified canals, the number of canals, extra root if any, and approximate canal length.
- Evaluation of the Cemento Enamel Junction and tooth anatomy:
Access cavity preparations are mainly done in relation to the occlusal anatomy. But we can’t rely on the occlusal anatomy completely because it may lead to perforation and also it’s not sure that we have to get a case with fewer dental caries. Most of the time the cases for Root Canal Treatment will be cases of grossly decayed teeth. Always the root will not be perpendicular to the occlusal surface. So we can’t always depend on the anatomy of the tooth which may lead to perforation of the tooth along the cervical or furcal area.
The junction between the cementum and the enamel called the cementoenamel junction will tell you the location of the pulp chamber. There are certain guidelines to determine the anatomy of the pulp chamber.
Laws of Access Cavity Preparation.
| – Law of Centrality: The floor of the pulp chamber is always located in the center of the tooth at the level of the CEJ. | 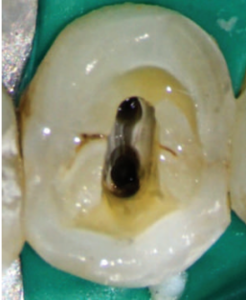 |
| – Law of Concentricity: The walls of the pulp chamber are always concentric to the external surface of the tooth at the level of the CEJ; that is, the external root surface anatomy reflects the internal pulp chamber anatomy. | 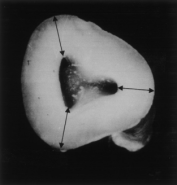 |
| – Law of Location of the CEJ: The distance from the external surface of the clinical crown to the wall of the pulp chamber is the same throughout the circumference of the tooth at the level of the CEJ, making the CEJ the most consistent repeatable landmark for locating the position of the pulp chamber. | 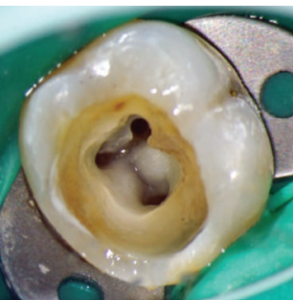 |
| Law of Symmetry: Except for the maxillary molars, canal orifices are equidistant from a line drawn in a mesiodistal direction through the center of the pulp chamber floor. Except for the maxillary molars, canal orifices lie on a line perpendicular to a line drawn in a mesiodistal direction across the center of the pulp chamber floor. | 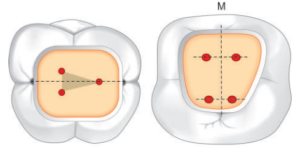 |
| Law of Color Change: The pulp chamber floor is always darker in color than the walls. | 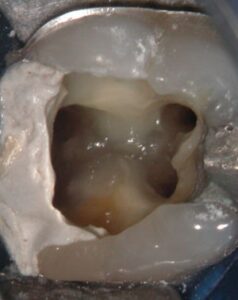 |
| – Law of Orifice location: The orifices of the root canals are always located at the junction of the walls and the floor; the orifices of the root canals are always located at the angles in the floor-wall junction; and the orifices of the root canals are always located at the terminus of the roots’ developmental fusion lines | 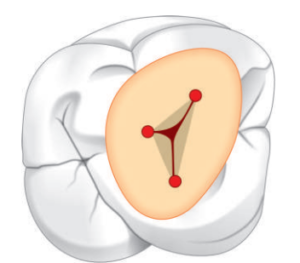 |
Preparation of the access cavity.
Access cavity is prepared in the lingual surface in case of anterior teeth and occlusal surface in case of posterior teeth. According to some authors they prefer incisal access cavity preparation to the lingual surface as it reduces the canal debridement (traditional concept). These are the cases for an ideal tooth. But there are cases where the tooth may be tilted, reclined, or crowed. So in such cases how will you do the access opening? In such cases also the same method is being used.
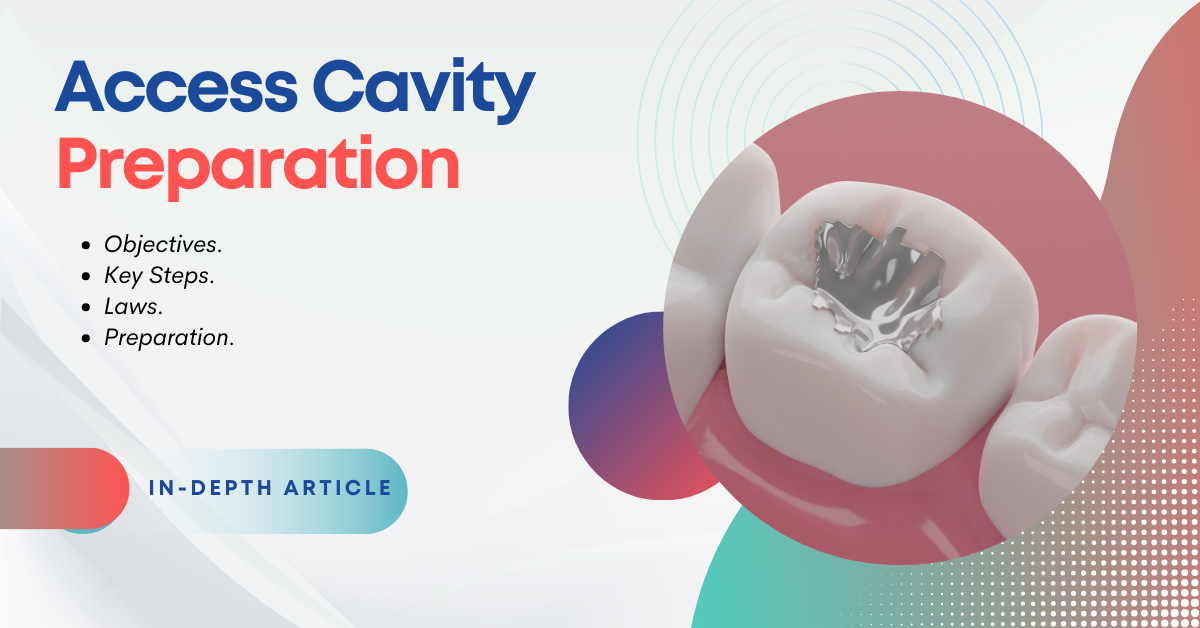
Instruments such as Micro opener and Endo Handle can be used to locate the orifice
- Removal of caries and restoration before entry into the canal:
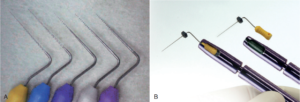
We need to remove all the defective restoration if any are present and caries before entering the canal because if it’s not done then it may enter into the canal and cause contamination. We should always work in a clean area. Along with this we need to remove all the unsupported tooth structures.
- Locating the pulp chamber:
We use proper magnification to locate the pulp chamber such as Dental Operating Microscope, Surgical Microscope, DG 16 probe, Endoscopic Endoscope.
A proper access cavity is tapered which is widest on the occlusal surface. In such cases, a temporary restoration or cavity of 3.5mm will provide a proper coronal seal.
Mechanical Phase of Access Cavity Preparation.
For the mechanical access cavity preparation, we need the following instruments such as:
- Magnification and illumination
- Ultrasonic tips and units
- Handpieces
- Burs
- Endodontic Explorer
- Magnification and Illumination:
For a proper access cavity preparation we need a proper magnification and illumination. We use DOM (Dental Operating Microscope) and Auxillary loupes.
- Handpiece:
We use high-speed handpieces in most of the cases and low-speed handpieces can also be used in cases of careful excavation of caries. In case of challenging cases such as calcified canals, we use low-speed handpieces and ultrasonic tips.
- Burs:
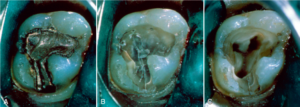
We use numerous bur for access cavity preparation. Round carbide burs are more preferably used in access cavity preparation because they are very useful for penetrating through the pulpal floor.
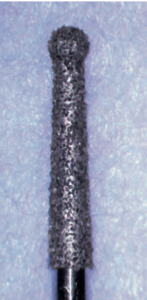
Some clinicians use fissure bur or diamond bur also for access cavity preparation. For the extension of the axial wall, they can be used with the safety tip or noncutting edges. In the case of preparing the access opening of metallic restoration, we need to use such burs. Diamond carbide burs are safer to use and always must be used with water to reduce heat formation.
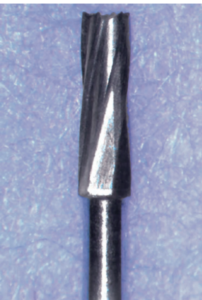
We have seen that in dentistry there is a variety of uses for zirconia crowns, onlays, inlays, etc. In such cases, the carbide bur can’t be used because it’s very brittle and produces cracks in such cases diamond burs have to be used. When you use diamond bur use water to reduce the heat produced. Always keep in mind that we need to throw the diamond bur after many uses.
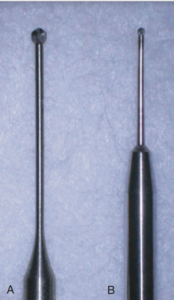
All the cases you get won’t be ideal, in some cases the pulp chamber will be less or will be calcified. In such cases, you can use a bur called Mueller Bur or LN Bur. Its shaft is thinner and available in different sizes.
- DG 16:
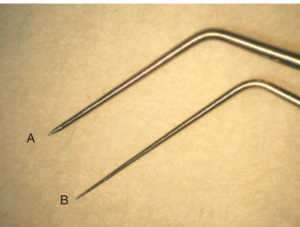
DG 16 probes are used for locating the canal orifices. Other than this is the JW 17 probe.
– Endodontic Spoon Excavator:
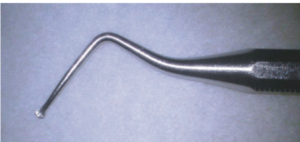
Endodontic spoon excavators are used for removing the coronal pulp.
– Ultrasonic Tips and Units:
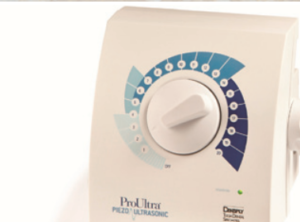
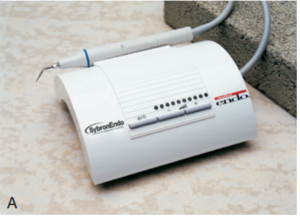
Ultrasonic Units and tips are mainly used in cases of calcified canal orifices. They are available in brands such as Sine Tips, Pro Ultra Tips, Smart X BUC tips, etc.
Access cavity preparation of mandibular molar will be discussed in my separate article.
I tried my best to include all the information regarding access cavity preparation or opening in this article. As you know there are many updates coming in the field of dentistry, I will try my best to keep the blog updated.
If you are looking for more related articles, then you can go through the endodontics page.
If you loved my content please subscribe to my blog and you can also comment your suggestions below. I will try my best to revert back as soon as possible.
